

March 2015 CreateScrapbooks YouTube GIVEAWAY: Simon Says Stamp “Classic Beauty” Card Kit! You can find more information on the Simon Says Stamp CLASSIC BEAUTY Card Kit that I am giving away on the video below, and a full listing of kits I receive over at my ScrapClubs.com blog here. Here’s the What’s Inside Video showing you the kit… Continue reading March 2015 CreateScrapbooks YouTube GIVEAWAY: Simon Says Stamp “Classic Beauty” Card Kit
Category: Live Show & Events:
December 2014 GIVEAWAY: CreateScrapbooks YouTube channel, Countdown to Christmas Scrapbook Album Kit
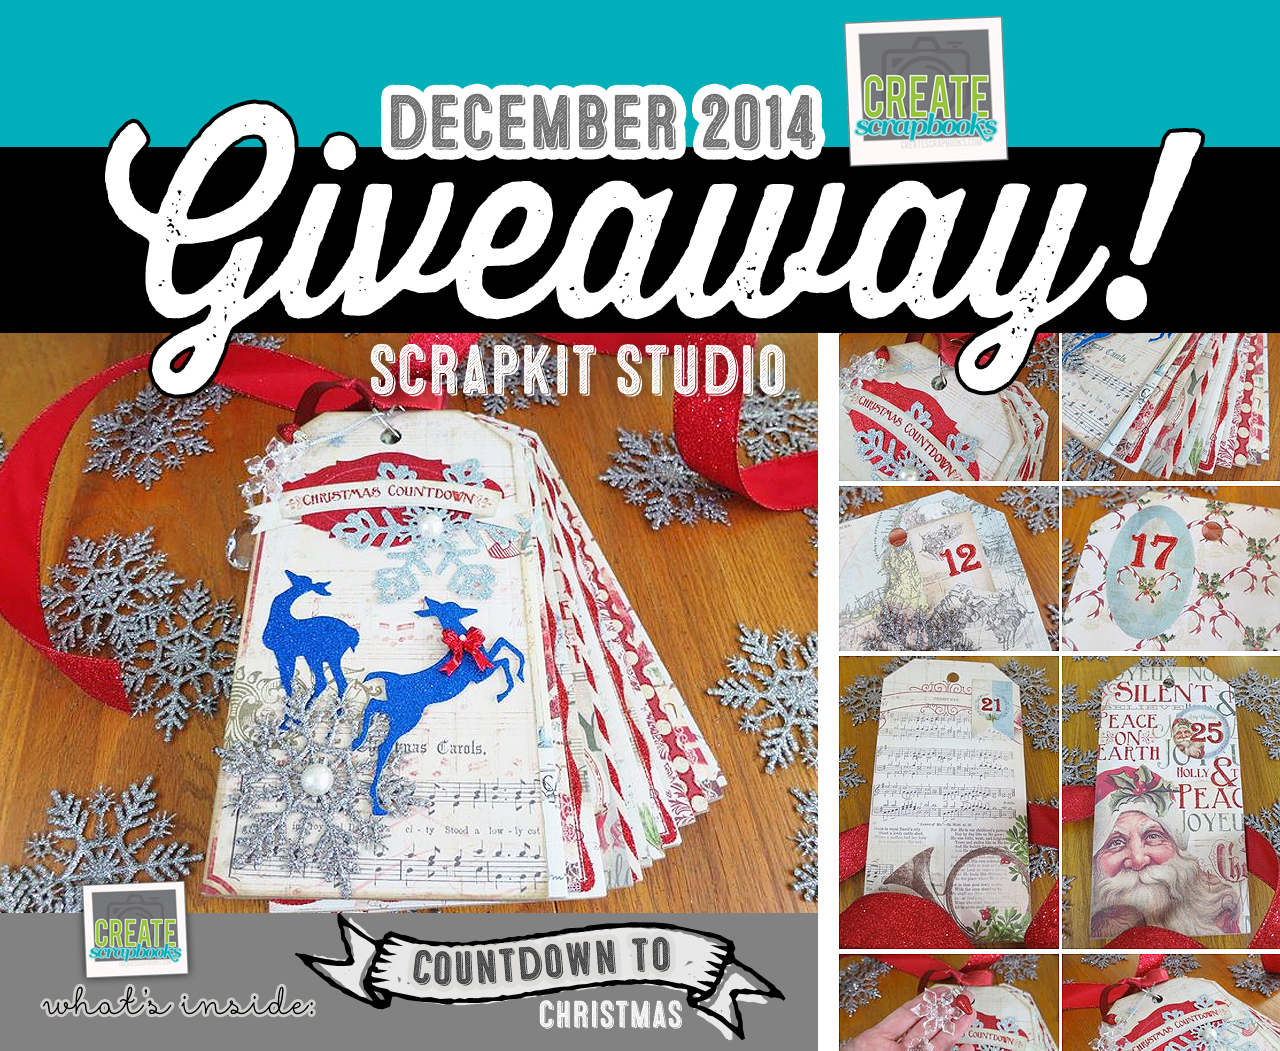
ScrapKitStudio Countdown to Christmas Album Kit Giveaway! With all of the awesome products I receive from my scrapbook, stamping, and papercrafting kits each month (see my What’s Inside videos at this link if you are a new visitor and you’ll see what I mean), I am always left with an excess of supplies. I have… Continue reading December 2014 GIVEAWAY: CreateScrapbooks YouTube channel, Countdown to Christmas Scrapbook Album Kit
What’s Inside VIDEO: Scraptastic Club – NOVEMBER 2014 – This Life Noted (Pocket Page/Project Life Style) Kit, FREE FALLIN’ Kit & Add-On, 3 Exclusive Scraptastic Stamp Sets
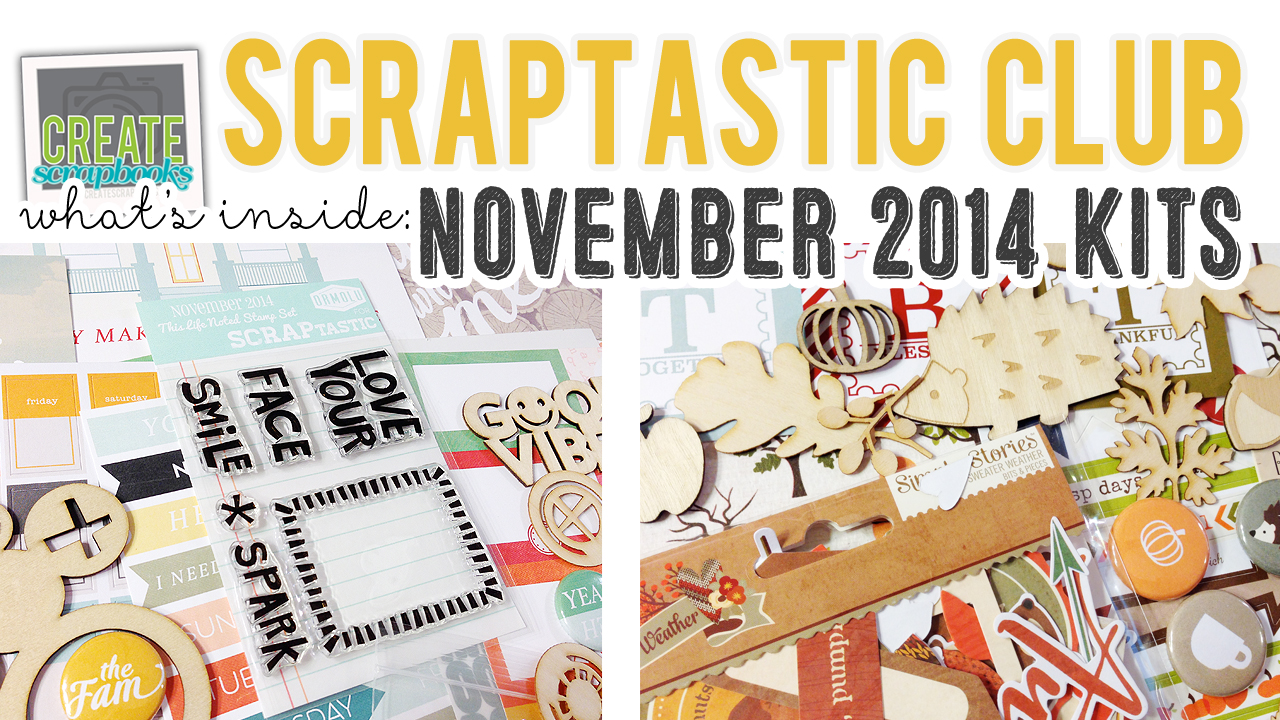
Create Scrapbooks “What’s Inside” Video – Scraptastic Club (Want to view the above video on YouTube to see it larger? Here’s the direct link: http://youtu.be/ibdcT4K4X2Q) Scraptastic Club NOVEMBER 2014 Kits    The kit contents for the Scraptastic Club NOVEMBER 2014 kit releases can be found on ScrapClubs.com at this link. Purchase these Scraptastic Club’s Monthly… Continue reading What’s Inside VIDEO: Scraptastic Club – NOVEMBER 2014 – This Life Noted (Pocket Page/Project Life Style) Kit, FREE FALLIN’ Kit & Add-On, 3 Exclusive Scraptastic Stamp Sets
What’s Inside VIDEO: Elle’s Studio – NOVEMBER 2014 – Monthly Tag Kit (Exclusive Project Life Cards/Tags & Paper Embellishments)

Create Scrapbooks “What’s Inside” Video – Elle’s Studio (Want to view the above video on YouTube to see it larger? Here’s the direct link: http://youtu.be/ii7QmYeVDO8) Elle’s Studio NOVEMBER 2014 Kit & Add-Ons NOVEMBER 2014 Elle’s Studio Limited Edition paper crafting kit can be purchased at www.shopellesstudio.com for a limited time each month for $11.99. Make sure… Continue reading What’s Inside VIDEO: Elle’s Studio – NOVEMBER 2014 – Monthly Tag Kit (Exclusive Project Life Cards/Tags & Paper Embellishments)
What’s Inside VIDEO: Simon Says Stamp – OCTOBER 2014 “FRIENDSHIP HAS ITS PERKS” Exclusive Card Kit of the Month with SSS Stamp Set

 Simon Says Stamp – OCTOBER 2014 “FRIENDSHIP HAS ITS PERKS” Card Kit (Want to view the above video on YouTube to see it larger? Watch it via YouTube at this link: http://youtu.be/en_dcSJsJWM)  Simon Says Stamp OCTOBER 2014 “FRIENDSHIP HAS ITS PERKS” Card Kit of the Month complete kits with stamps from this video can… Continue reading What’s Inside VIDEO: Simon Says Stamp – OCTOBER 2014 “FRIENDSHIP HAS ITS PERKS” Exclusive Card Kit of the Month with SSS Stamp Set
What’s Inside VIDEO: ScrapKit Studio – BOO TO YOU – Halloween Themed 6×9†Complete Album Kit

Create Scrapbooks “What’s Inside” Video – ScrapKit Studio (Want to view the above video on YouTube to see it larger? Here’s the direct link: http://youtu.be/vYPA8JzBei0) ScrapKit Studio BOO TO YOU Album Kit BOO TO YOU ScrapKit Studio kit can be purchased at www.scrapkitstudio.com for $42.00 for a limited time! Make sure to subscribe to the Create Scrapbooks YouTube… Continue reading What’s Inside VIDEO: ScrapKit Studio – BOO TO YOU – Halloween Themed 6×9†Complete Album Kit
What’s Inside VIDEO: Scraptastic Club – OCTOBER 2014 – This Life Noted (Pocket Page/Project Life Style) Kit, HEART IT RACES Kit & Add-On, 3 Exclusive Scraptastic Stamp Sets
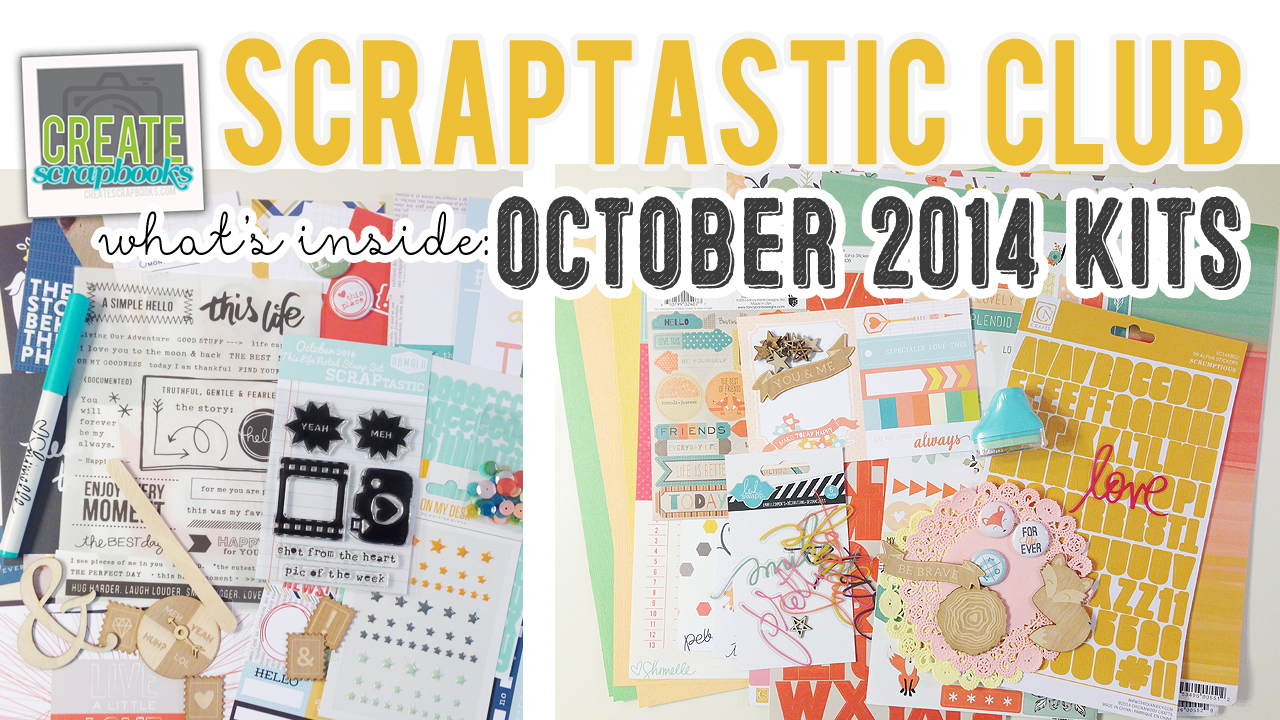
Create Scrapbooks “What’s Inside” Video – Scraptastic Club (Want to view the above video on YouTube to see it larger? Here’s the direct link: http://youtu.be/iM3X3nUzM04) Scraptastic Club OCTOBER 2014 Kits  The kit contents for the Scraptastic Club OCTOBER 2014 kit releases can be found on ScrapClubs.com at this link. Purchase these Scraptastic Club’s Monthly Scrapbooking and… Continue reading What’s Inside VIDEO: Scraptastic Club – OCTOBER 2014 – This Life Noted (Pocket Page/Project Life Style) Kit, HEART IT RACES Kit & Add-On, 3 Exclusive Scraptastic Stamp Sets
What’s Inside VIDEO: Simon Says Stamp – AUGUST 2014 “SUMMER DREAMS” Exclusive Card Kit of the Month with SSS Stamp Set

 What’s Inside Video: Simon Says Stamp – AUGUST 2014 “SUMMER DREAMS”  Exclusive Card Kit (Want to view the above video on YouTube to see it larger? Watch it via YouTube at this link: http://youtu.be/J9whfi7dIbw) Simon Says Stamp AUGUST 2014 Card Kit of the Month complete kits with stamps from this video can be purchased at this link.… Continue reading What’s Inside VIDEO: Simon Says Stamp – AUGUST 2014 “SUMMER DREAMS” Exclusive Card Kit of the Month with SSS Stamp Set